import cv2import matplotlib.pyplot as plt
import numpy as np
def display_images(l,titles=None,fontsize=12):
n=len(l)
fig,ax = plt.subplots(1,n)
for i,im in enumerate(l):
ax[i].imshow(im)
ax[i].axis('off')
if titles is not None:
ax[i].set_title(titles[i],fontsize=fontsize)
fig.set_size_inches(fig.get_size_inches()*n)
plt.tight_layout()
plt.show()
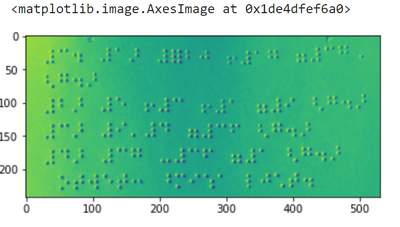
im = cv2.imread('data/braille.jpeg')
print(im.shape)
plt.imshow(im)
输出:
(242, 531, 3)
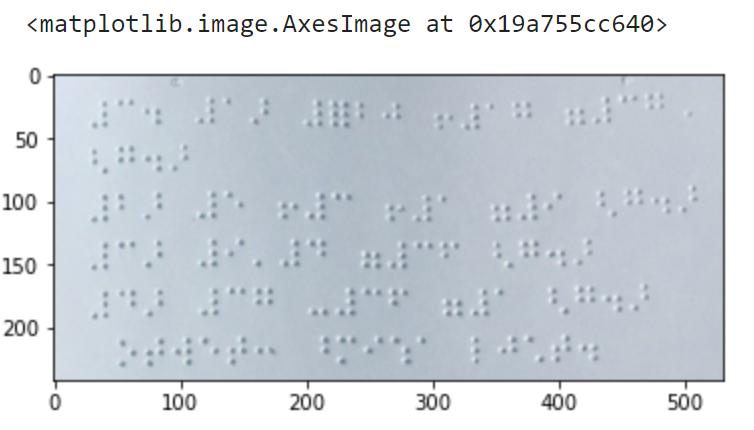
bw_im = cv2.cvtColor(im,cv2.COLOR_BGR2GRAY)
print(bw_im.shape)
plt.imshow(bw_im)

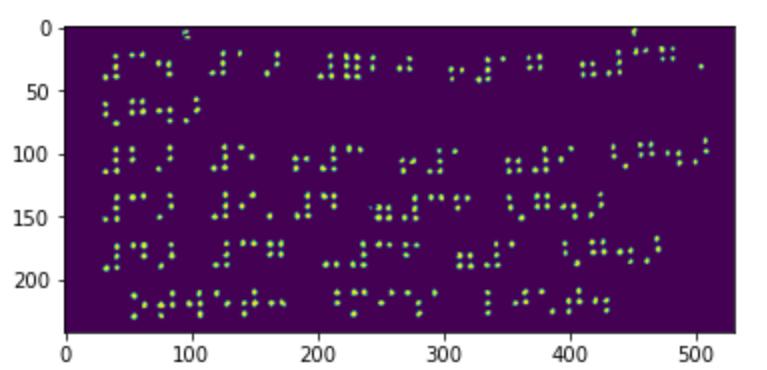
im = cv2.blur(bw_im,(3,3))
im = cv2.adaptiveThreshold(im, 255, cv2.ADAPTIVE_THRESH_MEAN_C, cv2.THRESH_BINARY_INV, 5,4)
im = cv2.medianBlur(im, 3)
_,im = cv2.threshold(im, 0, 255, cv2.THRESH_OTSU)
im = cv2.GaussianBlur(im, (3,3), 0)
_,im = cv2.threshold(im, 0, 255, cv2.THRESH_OTSU)
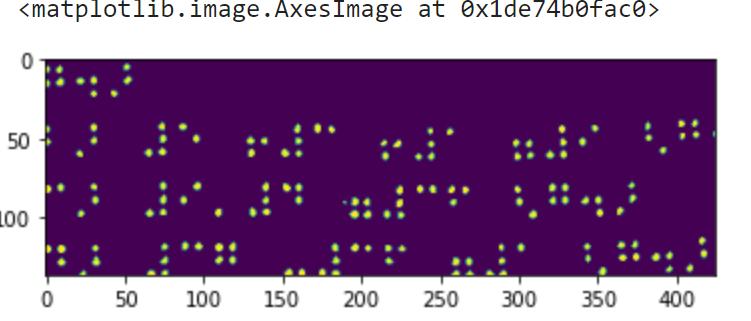
plt.imshow(im)
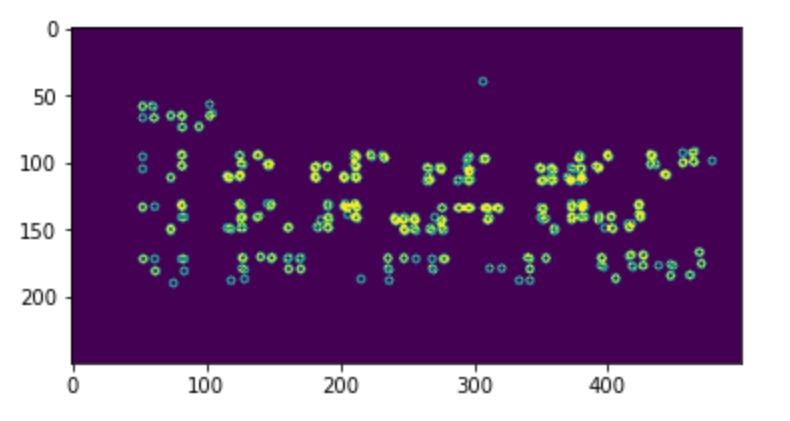
用特征抽取技术(SIFT,SURF,ORB)提取单个点:
orb = cv2.ORB_create(5000)
f,d = orb.detectAndCompute(im,None)
print(f"First 5 points: { [f[i].pt for i in range(5)]}")
输出:
First 5 points: [(307.20001220703125, 40.80000305175781), (297.6000061035156, 114.00000762939453), (423.6000061035156, 133.20001220703125), (242.40000915527344, 144.0), (103.68000793457031, 57.60000228881836)] 绘图: def plot_dots(dots):
img = np.zeros((250,500))
for x in dots:
cv2.circle(img,(int(x[0]),int(x[1])),3,(255,0,0))
plt.imshow(img)
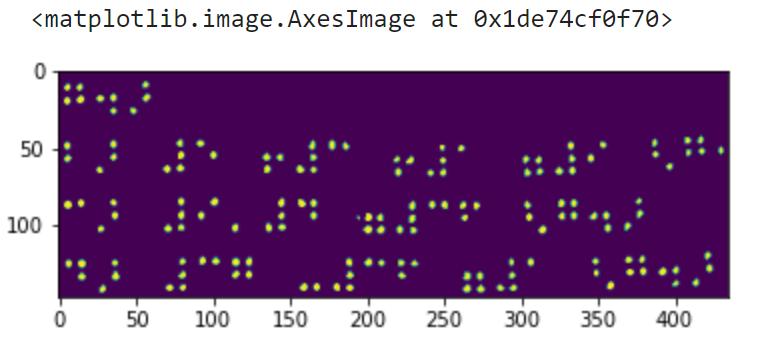
pts = [x.pt for x in f]plot_dots(pts)
进一步分开字母:直接算min和max坐标
将字母对齐:用透视变换,坐标 围出矩形,用对应的维度对齐
off = 5
src_pts = np.array([(min_x-off,min_y-off),(min_x-off,max_y+off),
(max_x+off,min_y-off),(max_x+off,max_y+off)])
w = int(max_x-min_x+off*2)
h = int(max_y-min_y+off*2)
dst_pts = np.array([(0,0),(0,h),(w,0),(w,h)])
ho,m = cv2.findHomography(src_pts,dst_pts)
trim = cv2.warpPerspective(im,ho,(w,h))
plt.imshow(trim)
将所有矩阵分离:
char_h = 36char_w = 24def slice(img):
dy,dx = img.shape
y = 0
while y+char_h<dy:
x=0
while x+char_w<dx:
# Skip empty lines
if np.max(img[y:y+char_h,x:x+char_w])>0:
yield img[y:y+char_h,x:x+char_w]
x+=char_w
y+=char_h
sliced = list(slice(trim))display_images(sliced)

处理视频,转成帧:
vid = cv2.VideoCapture('data/motionvideo.mp4')
c = 0frames = []
while vid.isOpened():
ret, frame = vid.read()
if not ret:
break
frames.append(frame)
c+=1
vid.release()
print(f"Total frames: {c}")
display_images(frames[::150])

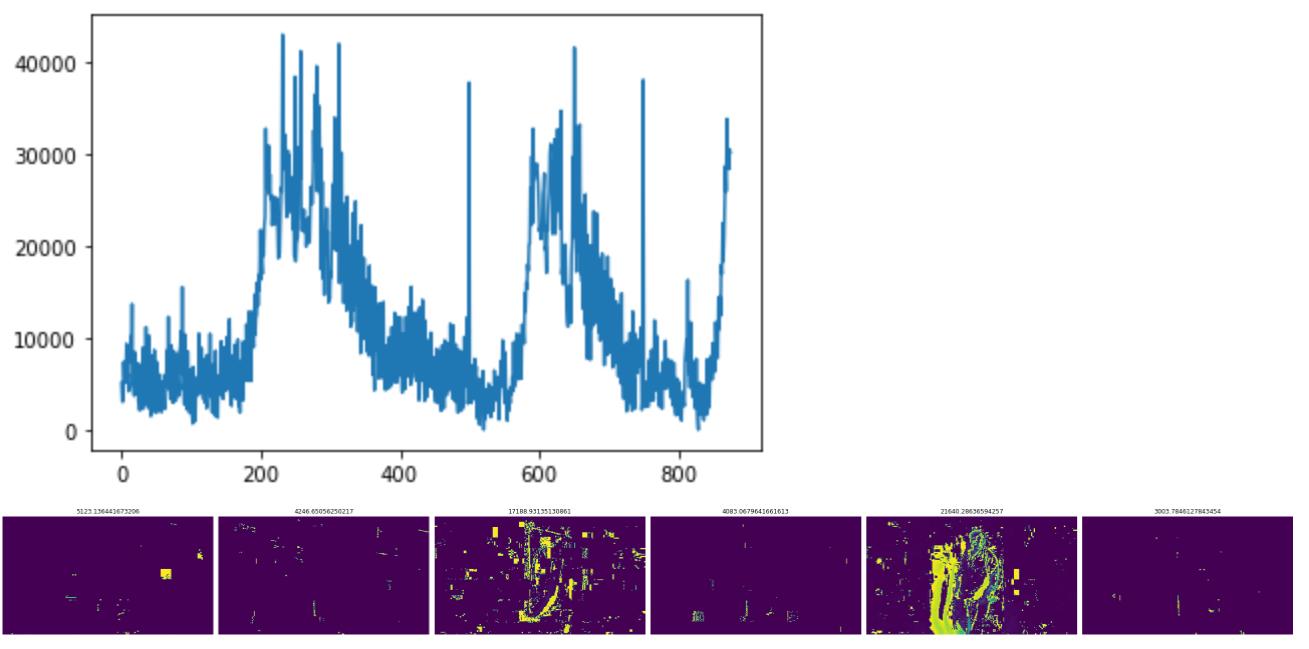
转成灰阶(颜色对运动检测没什么作用,所有调成灰阶节能省时间),计算帧距离,绘图:
bwframes = [cv2.cvtColor(x,cv2.COLOR_BGR2GRAY) for x in frames]
diffs = [(p2-p1) for p1,p2 in zip(bwframes[:-1],bwframes[1:])]
diff_amps = np.array([np.linalg.norm(x) for x in diffs])plt.plot(diff_amps)
display_images(diffs[::150],titles=diff_amps[::150])
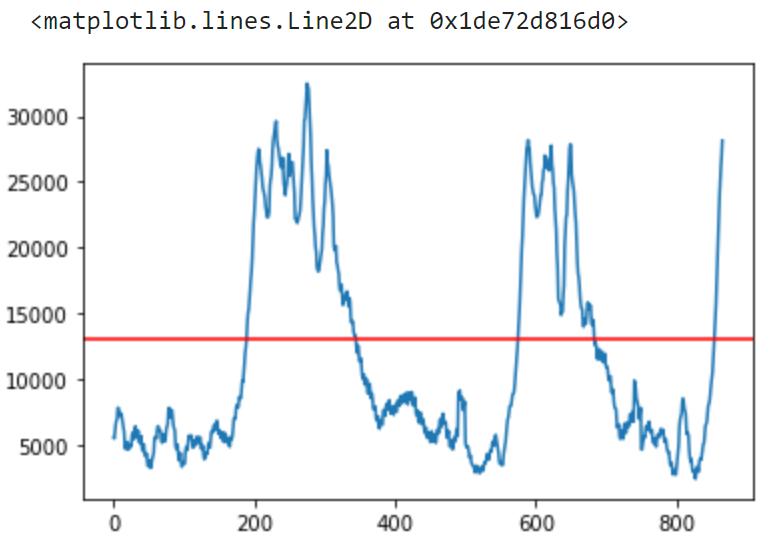
消除噪音:
def moving_average(x, w):
return np.convolve(x, np.ones(w), 'valid') / w
threshold = 13000
plt.plot(moving_average(diff_amps,10))plt.axhline(y=threshold, color='r', linestyle='-')
active_frames = np.where(diff_amps>threshold)[0]
def subsequence(seq,min_length=30):
ss = []
for i,x in enumerate(seq[:-1]):
ss.append(x)
if x+1 != seq[i+1]:
if len(ss)>min_length:
return ss
ss.clear()
sub = subsequence(active_frames)print(sub)
输出:
[195, 196, 197, 198, 199, 200, 201, 202, 203, 204, 205, 206, 207, 208, 209, 210, 211, 212, 213, 214, 215, 216, 217, 218, 219, 220, 221, 222, 223, 224, 225, 226, 227, 228, 229, 230, 231, 232, 233, 234, 235, 236, 237, 238, 239, 240, 241, 242, 243, 244, 245, 246, 247, 248, 249, 250, 251, 252, 253, 254, 255, 256, 257, 258, 259, 260, 261, 262, 263, 264, 265, 266, 267, 268, 269, 270, 271, 272, 273, 274, 275, 276, 277, 278, 279, 280, 281, 282, 283, 284, 285, 286, 287, 288, 289, 290, 291, 292, 293, 294, 295, 296, 297, 298, 299, 300, 301, 302, 303, 304, 305, 306, 307, 308, 309, 310, 311, 312, 313, 314, 315, 316, 317, 318, 319, 320, 321, 322]
还原图像:
plt.imshow(frames[(sub[0]+sub[-1])//2])
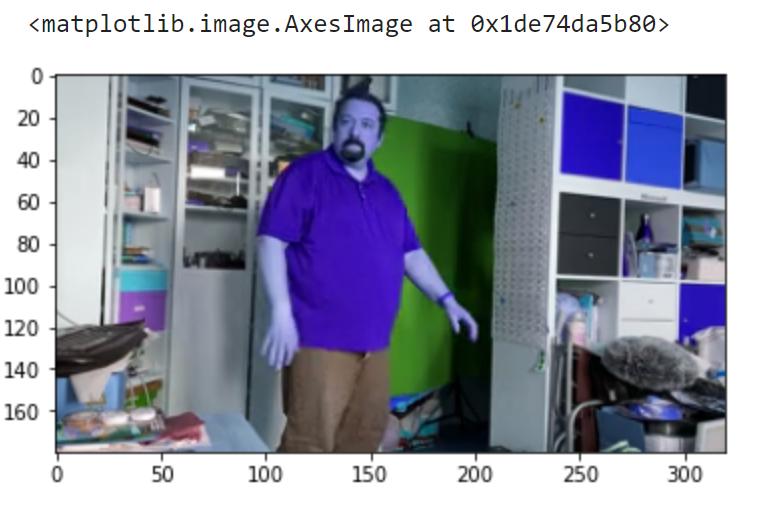
plt.imshow(cv2.cvtColor(frames[(sub[0]+sub[-1])//2],cv2.COLOR_BGR2RGB))

用光流提取运动信息:
-
稠密光流:计算矢量场,显示每个像素的移动方向
-
稀疏光流:提取图像显著特征(边缘),逐帧追踪运动轨迹
计算稠密光流:
flows = [cv2.calcOpticalFlowFarneback(f1, f2, None, 0.5, 3, 15, 3, 5, 1.2, 0)
for f1,f2 in zip(bwframes[:-1],bwframes[1:])]
flows[0].shape
输出:
(180, 320, 2)
光流转换成极坐标,每个像素有方向和张量
def flow_to_hsv(flow):
hsvImg = np.zeros((flow.shape[0],flow.shape[1],3),dtype=np.uint8)
mag, ang = cv2.cartToPolar(flow[..., 0], flow[..., 1])
hsvImg[..., 0] = 0.5 * ang * 180 / np.pi
hsvImg[..., 1] = 255
hsvImg[..., 2] = cv2.normalize(mag, None, 0, 255, cv2.NORM_MINMAX)
return cv2.cvtColor(hsvImg, cv2.COLOR_HSV2BGR)
start = sub[0]
stop = sub[-1]
print(start,stop)
frms = [flow_to_hsv(x) for x in flows[start:stop]]
display_images(frms[::25])

扩展阅读:
-
用光流实现手掌运动检测
-
识别宠物脸部实验
-
卷积神经网络PyTorch试水
-
卷积网络TensorFlow试水